
Creating your own bow tie represents a delightful fusion of personal style and practical craftsmanship, offering gentlemen an opportunity to express their sartorial flair through a handmade accessory. This comprehensive guide will walk you through the entire process, from selecting materials and constructing your bow tie to mastering the art of coordinating it seamlessly with your wardrobe. Whether you're a beginner looking to tackle your first sewing project or an experienced maker seeking to refine your technique, understanding both the creation and styling of bow ties will elevate your approach to menswear accessories.
Understanding bow tie fundamentals: styles, materials, and construction
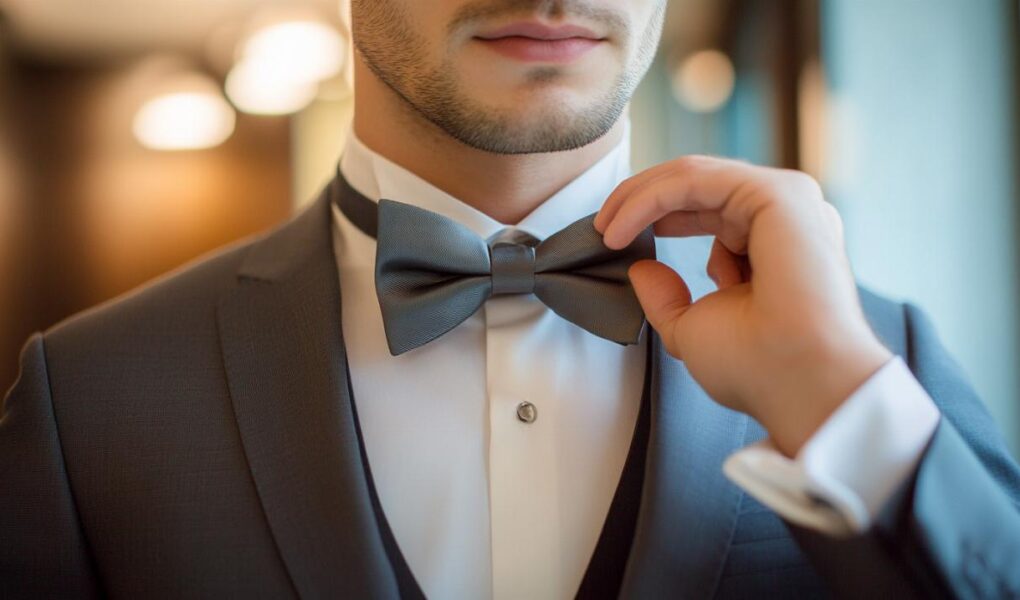
Before embarking on your DIY bow tie project, it's essential to familiarise yourself with the various styles and shapes available in the world of bow ties. Each design offers a distinct aesthetic and suits different occasions and personal preferences. The Classic Henry style presents a traditional silhouette that works well for most formal and semi-formal settings, whilst the Butterfly shape, exemplified by the Philip and Stuart variations, offers a slightly wider profile that makes a bolder statement. For those seeking a more contemporary appearance, the Straight Jackson provides clean lines and a modern edge, and the Diamond Point designs such as Stanley and Louie create an elegant angular finish. Understanding these shapes before you begin will help you select the pattern that best aligns with your intended use and personal style.
Exploring Different Bow Tie Styles and Shapes for Your DIY Project
When choosing which style to create, consider the occasions where you'll wear your finished accessory. The Classic shape remains versatile enough for weddings, formal events, and traditional workplace settings, making it an excellent starting point for beginners. The Butterfly variation adds visual interest and works particularly well for gentlemen who prefer a touch of vintage charm in their wardrobe. Meanwhile, the Straight and Diamond Point styles cater to those with more contemporary tastes, offering streamlined profiles that complement modern tailoring. As you develop your skills, you might find yourself creating multiple bow ties in different shapes to suit various situations, from holidays and celebrations to everyday office wear.
Selecting the Right Materials: From Classic Silk to Contemporary Wooden Bow Ties
Material selection plays a crucial role in both the construction process and the final appearance of your handmade bow tie. Traditional fabrics such as silk remain the gold standard for formal occasions, offering a luxurious sheen and drape that elevates any ensemble. Cotton provides a more casual alternative that works beautifully for daytime events and warmer weather, whilst wool brings textural interest and warmth appropriate for autumn and winter gatherings. Velvet introduces a rich, tactile quality that suits evening wear and festive occasions particularly well. For those venturing into more experimental territory, contemporary wooden bow ties offer a unique aesthetic that blends traditional accessory conventions with modern materials. When starting your project, woven cotton serves as an excellent practice fabric, being both affordable and forgiving for beginners. For gentlemen's bow ties requiring more structure, consider using silk blends or wool paired with interfacing to achieve the proper body and shape retention.
Crafting your own bow tie: a step-by-step approach
The actual construction of a bow tie requires relatively modest materials and tools, making it an accessible project even for those new to sewing. Your essential supplies will include fabric scraps measuring between a quarter and half yard, matching thread, a strong safety pin, and swimsuit hooks measuring three quarters of an inch. These basic components allow you to create a professional-looking accessory without significant investment. Free patterns are readily available through various resources, including Google Drive links and email delivery services, with sizing charts typically accommodating neck circumferences up to fourteen and a half inches. The beauty of this project lies in its beginner-friendly nature, allowing you to complete a bow tie relatively quickly once you've grasped the fundamental techniques.
Essential Tools and Materials Needed for Bow Tie Construction
Beyond the basic supplies, having the right tools at your disposal will significantly improve your crafting experience and final results. A quality pair of fabric scissors ensures clean cuts that prevent fraying and make assembly easier. Pins help secure fabric layers during sewing, whilst a measuring tape or ruler guarantees accuracy in your cutting and placement. An iron becomes indispensable for pressing seams and achieving the crisp finish that distinguishes a professionally made bow tie from a homemade attempt. If you're working with materials requiring additional structure, fusible interfacing provides the necessary stability without adding excessive bulk. For those creating multiple bow ties, investing in a rotary cutter and self-healing mat can speed up the cutting process considerably, though these tools remain optional for single projects.
Creating the Perfect Bow Tie Pattern and Assembly Techniques
The assembly process begins with cutting your fabric according to your chosen pattern, ensuring you've accounted for seam allowances and any necessary interfacing. Once cut, you'll sew the pieces together, paying particular attention to curves which require careful handling to prevent puckering. Turning the fabric right side out represents one of the trickier steps, but using a safety pin technique makes this process significantly easier. Simply attach the pin to one end of the fabric tube and feed it through, pulling the fabric as you go until it emerges completely reversed. After turning, thorough pressing with an iron creates the sharp edges and smooth surfaces that characterise quality bow ties. The final construction step involves attaching the hook and loop closure system, which should be positioned to accommodate your specific neck circumference. Taking time to measure accurately and sew securely at this stage ensures your finished bow tie will be both comfortable and durable through repeated wearing.
Mastering bow tie and outfit coordination
Creating a handsome bow tie represents only half the equation; understanding how to coordinate it with your wardrobe elevates your overall appearance from merely acceptable to genuinely stylish. The relationship between your bow tie and other elements of your outfit, particularly your shirt and suit, requires thoughtful consideration of colour, pattern, and formality. Bow ties function as bold and sophisticated accessories that can either harmonise subtly with your ensemble or serve as striking focal points, depending on your choices. Mastering these coordination principles ensures your handmade creation receives the showcase it deserves whilst contributing positively to your overall presentation.
Colour Theory and Matching Your Handmade Bow Tie with Shirts and Suits
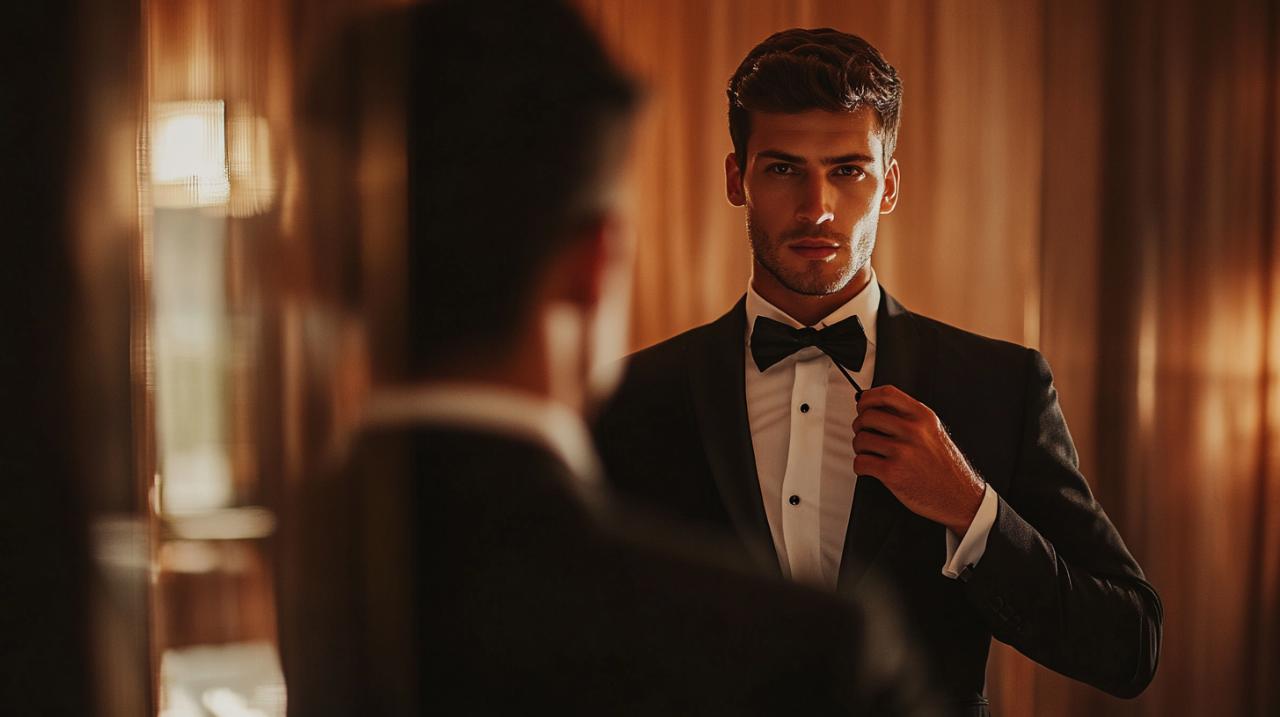
Colour coordination begins with understanding the foundational relationship between your bow tie and shirt collar. Solid-coloured bow ties offer the most versatile option, working harmoniously with patterned shirts and suits whilst maintaining a sophisticated restraint. When selecting colours, consider whether you want your bow tie to blend subtly with your outfit or provide a contrasting accent. For formal events such as weddings, classic combinations like black bow ties with white shirts remain timeless and appropriate, whilst semi-formal occasions allow for more experimental pairings. Navy bow ties work beautifully with light blue shirts and grey suits, creating a refined palette suitable for workplace attire. Burgundy and deep green options add seasonal warmth appropriate for autumn and winter gatherings. Remember that the length of your bow tie should also receive consideration, with measurements typically ranging from fifteen and a half to twenty-two inches to ensure proper fit and comfort across different neck sizes.
Pattern coordination: balancing your bow tie with other ensemble elements
When your handmade bow tie features patterns, the coordination challenge increases but so does the potential for distinctive style. The fundamental principle involves avoiding competing patterns of similar scale and type. If your bow tie displays bold patterns, pair it with solid or subtly textured shirts to prevent visual chaos. Conversely, if you're wearing a patterned shirt, a solid bow tie often provides the most harmonious balance. Your shirt collar type also influences the overall effect, with Button Down collars offering a casual American aesthetic, Pointed collars providing traditional versatility, Spread collars accommodating larger bow tie knots, and Wingtip collars specifically designed for formal occasions. Complementary accessories including pocket squares, cufflinks, tie clips, suspenders, and cummerbunds complete your ensemble, but these should enhance rather than overwhelm your handmade bow tie. When incorporating pocket squares, ensure they coordinate with but don't exactly match your bow tie, creating visual interest through complementary rather than identical elements. The fabrics you've chosen for your bow tie also guide accessory selection, with silk bow ties naturally pairing with similar luxury materials whilst cotton and wool varieties allow for more textured combinations.